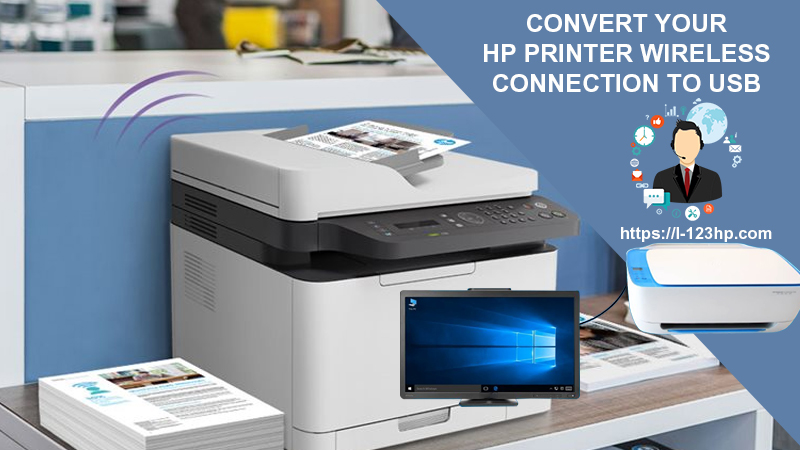
Convert Your HP Printer Wireless Connection To USB
With the help of and easy guidance through 123.hp.com/setup, you can set-up your HP printer completely. Because after buying the printer user need to set up it and download its drivers, so that they can get HD prints using the HP printer. If you are using HP wireless printer that is directly connected to the computer for a long time and facing issues in it then you can change the connection to USB connection. Now you must be thinking that how to change HP printer wireless connection to USB? Well, here in this blog you will find a simple step by step guide that will help you in accomplishing the connection.
With the help of USB cable, you can easily convert the connection from wireless to USB connection. After setting up your HP printer when you are ready to connect it with the network you can choose either wireless setup or USB setup. In wireless setup, you will get more than one option, while in USB you just have to connect the Ethernet cable with a router and the CPU of the computer.
Hence, to know-how- let us move ahead to learn the steps.
However, you move further with the setup, you need to follow some of the things you need to have:
- A functioning wireless network that works well within a wireless router.
- SSID of the wireless network router you are using.
- If you are using a password linked with the wireless network then you need a WEP key or WPA password.
- After ensuring all these things now you can connect your Hp printer with the router using the USB cable.
Steps To Change From Wireless Connection To USB
Here in this section, you will get to learn about the essential steps to change the HP Printer from wireless connection to USB connection. Therefore, follow the considerable steps:
- First, you need to disconnect your printer from your computer.
- After this, open the “Control Panel” window on your computer.
- Then select the Printer and Faxes option.
- Now you have to click on the “wireless all-in-one printer” and then choose the “Delete” button.
- Next, you need to connect the USB cable to your printer and computer ports.
- Turn on your printer now.
- After this, you have install- “Brother AIO Home center software”.
- On your computer click on ‘Start’ and then ‘All Programs’.
- Now go to “Brother” and finally select “Brother Printer Network Setup Utility”
- Select your USB model number of the printer you have and then tap on the “Next” button.
- Remember that once you have connected the USB cable to the printer and the computer, the printer driver gets installed.
- Now you will see the “Printer driver installation complete” message on the screen, so just click on the Done button.
- In the final step, you will see that the USB connected printer is now added to the “Printer and Faxes” section and it will be available for the printing from your computer system with its programs.
Note: This is the simple step that is discussed above and you can easily try it to add the printer with your computer and network. The above guide will help you in making a wireless connection to USB easily. However, if you want to change your USB connection to wireless connection again then remove the USB connection and rebuild the wireless connection once again.
We hope the above information steps will help you so much in changing your printer wireless connection to USB. You can use the same USB that had come with your printer packed in the box. Or if you have lost it or the USB cable is not working then get a working one. However, if you face any other issue in your printer, or fail to make the connection between the printer and the computer using USB, then you can call the HP printer experts to fix it.
