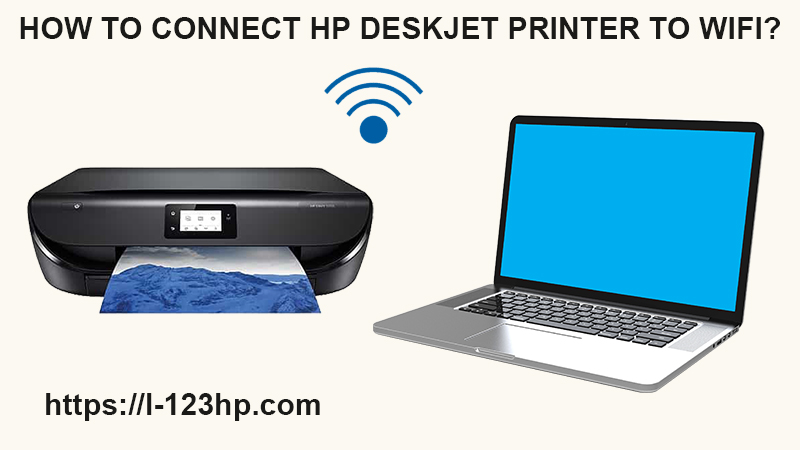
How to Connect HP DeskJet Printer to WiFi?
It’s easy to connect your HP DeskJet printer to your computer over a WiFi network. Whether you own a Windows PC or MacBook, you can do it by following the quick steps from this article. There are many benefits of printing wirelessly, such as saving the hassle to manage wires, less maintenance required, and easy troubleshooting. The steps to connect your printer to a wireless network depends on your operating system. It differs for Windows, different versions, and Mac as well. Based on these factors, you can choose the following methods to print wirelessly from your HP DeskJet printer.
Steps to connect your HP DeskJet printer to the wireless network
To secure a wireless network, make sure to connect your printer and computer over the same WiFi router. Also, you must know the wireless network name (SSID) and password. For a method that requires the USB connection, ensure to plug and unplug the cable only on the instructions of your printer software.
For Windows 8/10
1. Turn on your printer, computer, and WiFi router.
2. Remove all wires that connect your HP DeskJet printer to the router or computer.
3. Make sure to connect your computer to the wireless network.
4. Now visit the website 123.hp.com and click the country of origin.
5. Enter your printer model name, e.g., HP DeskJet _model number, and click Submit.
6. The screen displays the required printer drivers and software, click Download.
7. Follow further instructions to install the drivers and software on your computer.
8. Open the printer installer files and click Utilities > click Printer setup and software selection.
9. A new window opens, and here you will need to click on Connect a new Printer to the Computer.
10. Enter the network SSID name and password to connect your HP DeskJet printer to the wireless network.
11. Keep following the prompts until the Finish button appears. Click over it and close all windows.
For Windows 7 and others
1. Disconnect the USB cable from your HP DeskJet printer.
2. Now from your computer, visit the website support.hp.com and enter the name of your printer.
3. Your computer screen will display the list of software available to download.
4. Click to download all and then navigate to the download folder on your PC.
5. Here look for the HP_Printer_Installer file, double click over it, click Run on the confirmation screen and install the printer software on your PC.
6. Open the software, and when it asks for the connection type, then choose USB.
7. Connect your HP DeskJet printer to the computer when it instructs.
8. After finishing the procedure, your HP DeskJet printer will connect to the wireless network.
For macOS 10.9
Make sure your wireless router has a WPS button to connect to the WiFi network using a Mac device.
1. Turn on your Mac and HP DeskJet printer.
2. Further, press and hold the Wireless button for five seconds on your DeskJet printer control panel.
3. Now press and hold the WPS button on your wireless router for three seconds. Make sure to do this step within two minutes of pressing the wireless button on your printer.
4. Ensure you have updated the Mac to the latest software. If you haven’t, then go to the Apple menu, choose Software Update, check the list and click Install.
5. Again click the Apple menu, choose System Preferences, and click Printers and Scanners.
6. A new page opens, here click plus sign (at the bottom left corner of the white screen) to add your HP DeskJet printer to the Mac.
7. Now choose the option Add Printer or Scanner and then select the name of your printer from the list.
8. Checkmark the box in front of Use and again select your printer for final confirmation.
9. After that, click Install to add your DeskJet printer to the Mac and sharing the same wireless network.
For macOS 10.8
1. Disconnect your printer from Mac (if it’s connected).
2. Connect your Mac to the wireless network and visit the website support.hp.com.
3. Visit the section “Identify my Products,” type your printer name, and click Submit.
4. The screen displays the Mac operation system, and alter it if required.
5. Click Download, and after following the on-screen instructions, install the software on your Mac.
6. Under the newly installed software, choose Device Utilities.
7. Now open the HP Setup Assistant.
8. On the next screen, you will need to choose to connect your DeskJet printer to the wireless network.
9. Get the network SSID and password, enter it on your Mac screen at the desired location.
10. Now click Finish at HP Setup Assistant to end the process.
11. Check your DeskJet printer connects to the wireless network.
Need assistance? Dial our printer support number
In these ways, you can connect your HP DeskJet printer to the WiFi network with Windows or Mac device. Anybody can use these steps, whether you are an experienced techie or a novice user. The article covers all the steps with simple guidelines to install the printer software from 123.hp.com/setup or support.hp.com. If you find trouble understanding any action or could not establish the wireless connection, then contact our printer support team.
